How to Install and Configure PHP?
In the first part, you have learned about the introduction to PHP. The next step to start creating web applications with PHP is to learn to install and configure PHP. You can work with PHP on most operating systems e.g. Windows, macOS, Unix, or cloud computing platforms. Web developers can work with PHP in three different ways:
- Host your PHP files (.php) on a web host with PHP and MySQL support.
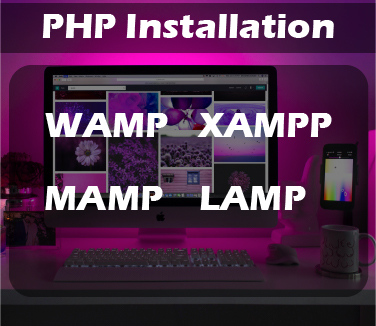
- Install and configure an all-in-one web server solution such as XAMPP, WampServer, MAMP, or LAMP.
- Install and configure a web server such as Apache, PHP itself, and MySQL database separately on your PC
1 – Upload .php files on a web host with PHP & MySQL support
If you can find a good web host with a pre-configured web server (Apache), and PHP & MySQL support, you don’t have to worry about the manual installation and configuration of PHP on your PC. Just create .php files in your web editor and upload all files to your web host’s directory. The web hosts’ server will automatically parse PHP files and return the desired results.
Almost all the popular web hosts today have support for PHP & MySQL. Some of the most popular web hosting services include but are not limited to Bluehost, Hostgator, DreamHost, Inmotion Hosting, and GoDaddy.
You may use the following procedure to upload .php files on your web host.
Step 1 – Create a simple PHP file
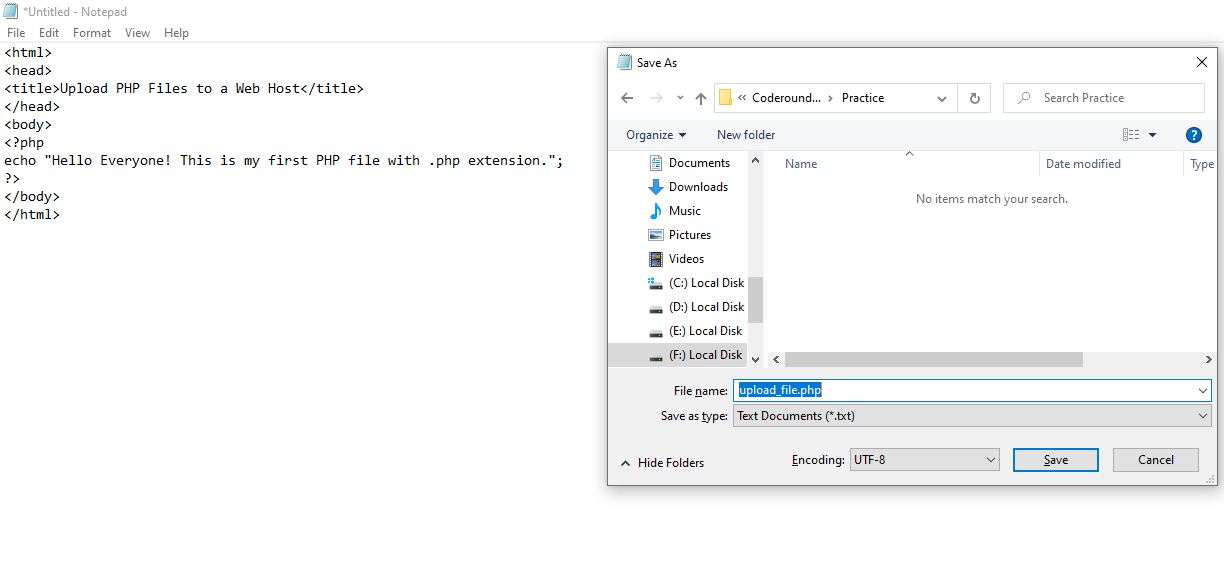
Insert the following code in a new text file in the Windows notepad editor;
<html>
<head>
<title>Upload PHP Files to a Web Host</title>
</head>
<body>
<?php
echo "Hello Everyone! This is my first PHP file with .php extension.";
?>
</body>
</html>
Name your file anything and save it as a .php extension instead of a .txt extension. You can see that “upload_file.php” is written in the “File name:” section.
Step 2 – Upload your file on the web host
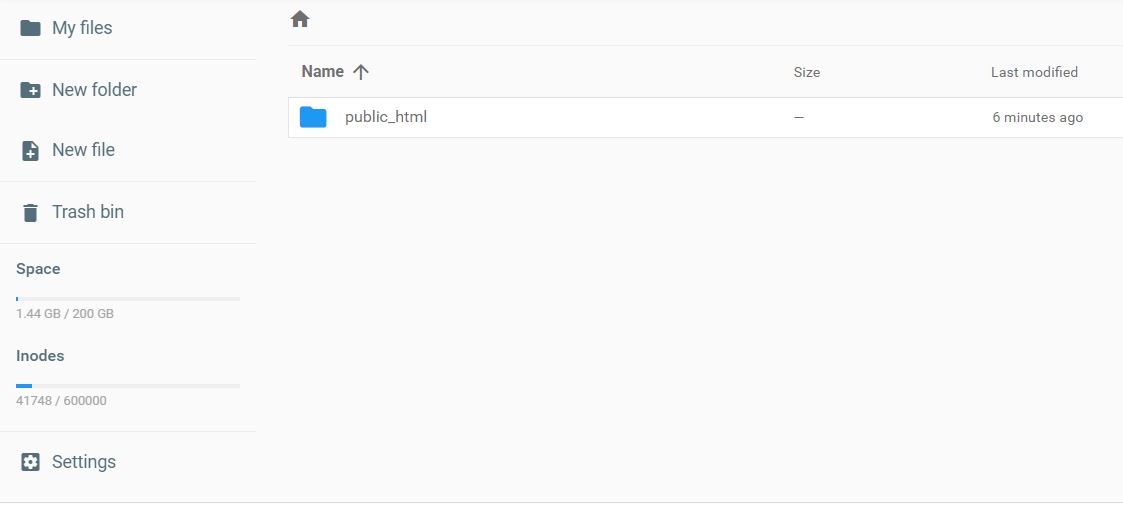
Go to the public_html folder of your web host’s directory and upload the file either directly in the root (public_html) folder or any other folder. Access the file via the URL “yourdomain.com/upload_file.php”. Don’t forget to replace yourdomain.com with your own domain and upload_file.php with your own file_name.php.
2 – Install and configure PHP with an all-in-one web server solution
If you don’t have access to a web hosting directory or want to avoid the complex process of manually installing and configuring PHP, all-in-one web server solutions are there for your rescue.
These solutions usually consist of a web server such as Apache, PHP, and a database such as MySQL. This enables developers to create, parse, and access .php files from within the comfort of their own PC. You just create and move .php files inside the root directory of the web server. Then, use the web browser to access those files via a URL such as http://localhost/yourfile.php or http://127.0.0.1/yourfile.php.
The most popular all-in-one web server solutions include;
- XAMPP is a cross-platform server solution that works on Windows, Linux, and OS X and supports MariaDB, PHP, and Perl.
- WampServer is a server solution for the Microsoft Windows Operating System which consists of Apache, PHP, and MySQL.
- MAMP is a local server. Developers use MAMP to test and run dynamic websites and it works only on Mac-based operating systems. It supports Apache, PHP, and MySQL.
- LAMP is a local server specifically for the Linux operating system and supports Apache, PHP, Perl, Python, and MySQL.
How to install and use XAMPP on Windows?
- First of all, download and install the latest version of “XAMPP for Windows” from apachefriends.org.
- Go to the xampp installation folder on your PC and open the application “xampp-control”.
- Click the “Start” buttons in front of “Apache and MySQL modules”. Both these modules will be highlighted once they start their operations.
- You are good to go. Now, open your web browser and visit http://localhost. If the default page for XAMPP opens, it means everything is working fine.
- Move your PHP files to the “htdocs” folder in the XAMPP installation directory and access them via your web browser by visiting http://localhost/youfile.php.
- From the XAMPP dashboard, you can access
phpinfo()to check all PHP information orphpmyadminto create and manage databases for your PHP web application.
3 – Install and configure PHP manually
To be able to use PHP on your windows operating system, you require four things: a web server, PHP, MySQL database, and a web browser. Considering that you have a web browser e.g. Google Chrome already installed on your PC, you have to install a web server e.g. Apache/IIS, PHP, and a database e.g. MySQL.
Install Requirements
PHP works with all windows versions except Windows 2008/Vista, RT/WOA/ARM. In order to work properly, PHP requires Visual C runtime (CRT).
According to php.net, the Microsoft Visual C++ Redistributable for Visual Studio 2019 is suitable for all these PHP versions, see » https://visualstudio.microsoft.com/downloads/. You must download the x86 CRT for PHP x86 builds and the x64 CRT for PHP x64 builds.
Due to the complexity of manual installation and configuration procedure, it is usually recommended to use an all-in-one web server solution such as XAMPP, WampServer, MAMP, or LAMP. For more information on the manual installation of PHP on different operating systems, please visit php.net.
Now you understand the basic introduction to PHP and how to install & work with PHP. In the next tutorial, you’ll learn about the basic PHP syntax in detail and create your first PHP-enabled “Hello World” page.